Steps to Setup Wireless Canon Pixma MX492 Printer
- Ankita Kalra

- Jun 26, 2020
- 3 min read
Canon printers are the most used printers worldwide. Canon delivers the outstanding features and designs to its users. Canon is the oldest player in the world of printers. So if you got your new canon Pixma printer and looking to set up then we will help you with the easy steps to set up for you!!
So let’s get started with the setup of canon Pixma mg 2520 wireless first and then we will also help you setup mx492 wireless.
Canon PIXMA MG2520 Wireless Setup
The first step is to place the power plug into the cord of the printer and join the other end witty the printer.
Now you need to turn the printer on to pick your language choice at the operation panel and then press the ok button for the process of how to setup canon pixma mg2520 wireless.
Turn the printer on and then press the setup button and choose a wireless LAN setup and then press the ok option.
Now select easy setup, press ok, and then select access point and now press ok. Enter WEP key and then again press OK.
Now place the setup CD into CD-ROM’s tray.
The next steps are to run the canon MG2520 driver application select the best which suits the device for the process of how to setup canon pixma mg2520 wireless.
The next step is to select the next option.
Install the driver in the system.
Select “Use printer on the wireless option and then click next
.
After the program is performed detecting printer, locate your very own at the listing. Click Next.
One the blue light of the wireless blinks till 15 times it means that the wifi is connecting with the system.
Now you will notice that your printer’s orange light is turned on it means t your wireless is setting up
The last step is to run a print test to check if the printer is well connected with the wireless network.
We hope now you are able to solve your issue of how to setup canon pixma mg2520 wireless.with the easy steps above. In case still, you are unable to do it don’t worry our technical department will help you out.
Now, we will be discussing the steps to set up the canon Pixma mx492 wireless
Follow the steps below to set up the canon pixma wireless printer
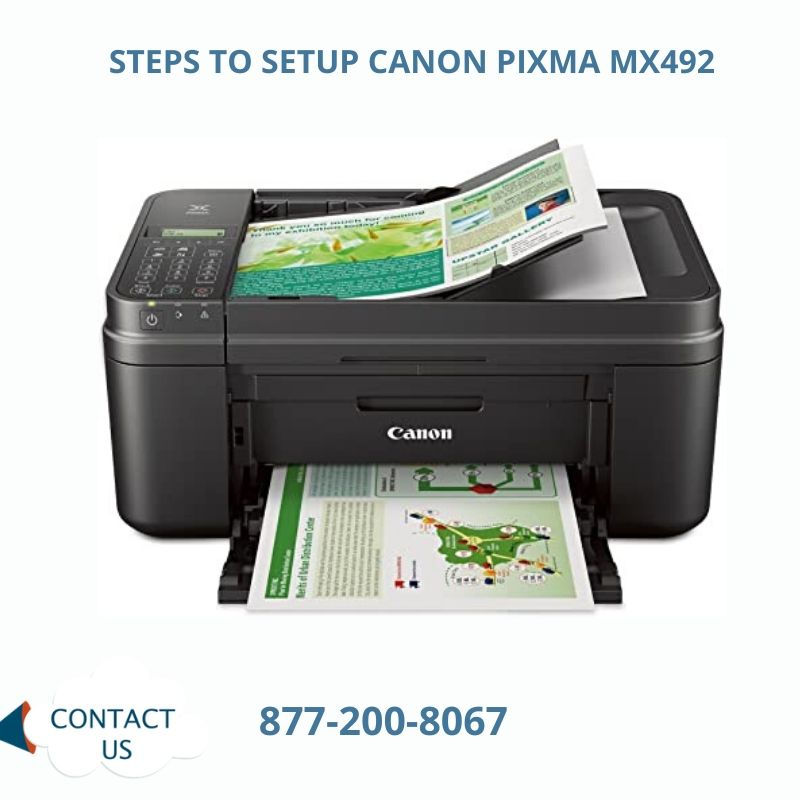
Steps to setup Canon Pixma mx492 wireless
The first step is to make sure that the canon Pixma mx492 is turned on.
Now you need to click on the control panel option and click on the setup button.
The next step is to click on the wireless LAN setup option for the procedure of
how to setup canon pixma mx492 wireless.
Now click on the ok option.
Now you need to download the canon pixma drivers which suits the best for your device.
Set the connection method as the wireless LAN connection for the wireless setup procedure.
Now enable the radio button on the printer to connect the wireless setup.
Follow the instructions on your screen for the process of how to setup canon pixma mx492 wireless.
Lastly, once you are done with the wireless setup process run the print test to check if all the setup is successful.
Hence we hope now you have understood the procedure with the above steps. In case still, you are unable to do it then you can directly reach our technical department and they will assist you further.
Conclusion
We hope now you are able to resolve your query on how to setup canon pixma mx492 wireless. In case still, you are wondering how to set up then you can contact our technicians and they will help you fix these issues. Feel free to reach us we are available for 24*7 at your assistance we are happy to help you.


Comments