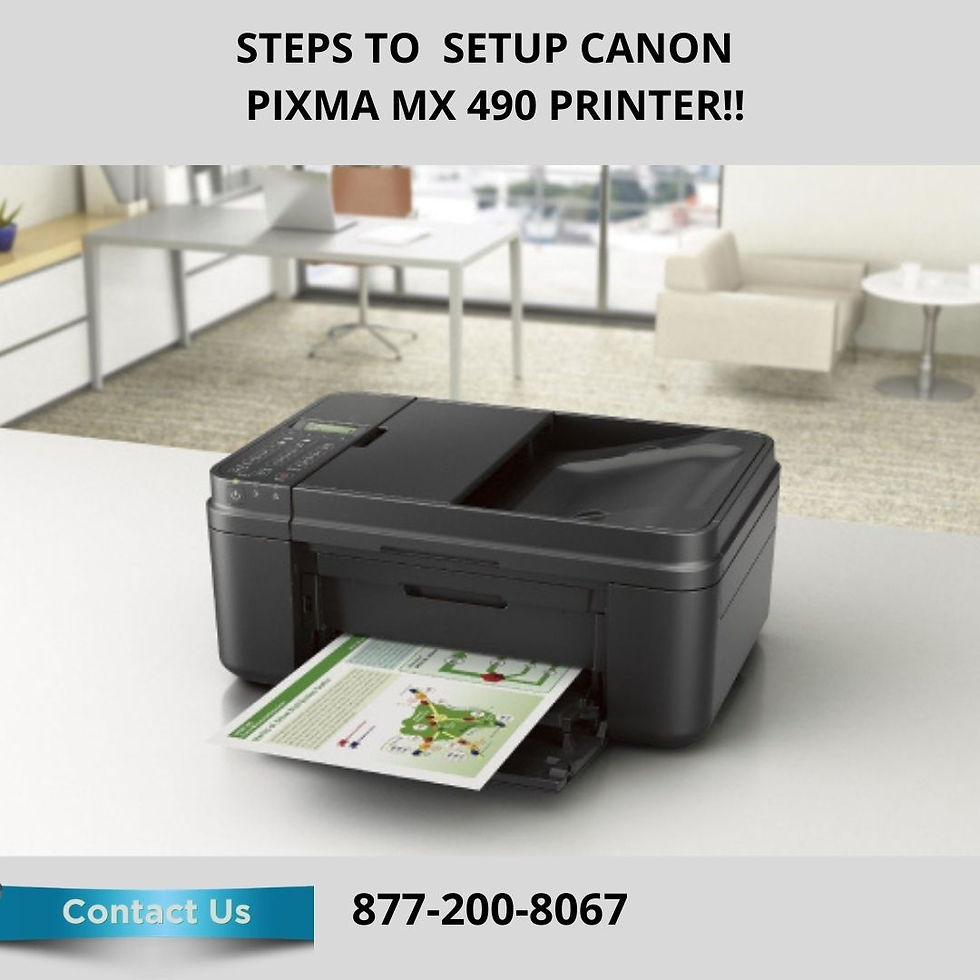
Steps For Canon Pixma 490 MX Setup
- Ankita Kalra

- Sep 10, 2020
- 2 min read
Canon never fails to delight its user with one or other features. It keeps on adding the new and user-friendly features which always makes it stand outside the box. Canon has millions of users across the globe as a Canon printer is one of the most used printers. If you are also wondering how to do the setup then this blog will help you do the canon MX 490 setup with the easy steps.
So let’s begin with the steps for the canon MX 490 setup below and get started with the steps now.
Steps For Canon Pixma 490 MX Setup
Firstly you need to check that your canon printer box is well sealed with the manufacturer’s seal in case if it is not then you can reach out and report it.
Remove all of the plastic and the packaging substances of the printer frame.
The next one is to connect to the power switch and then switch on the plug to the one end to the printer.
Now the next one for the canon mx490 setup is to open the cartridge get right of entry to the door to put in the new cartridges that come inside the percent.
Well, now you need to download the driver for the canon printer and ensure that you download the driver from the renowned website also check it is compatible enough with the device.
Now you need to load enough papers into the input tray and print the test alignment page for the process of canon mx490 setup.
Well, now you need to run the print test as we need to ensure that the canon setup is done successfully or not.
Well, now you are able to do your canon mx490 setup as explained above. In case of issues then contact us we are happy to help you.
Steps To Setup Canon MX 490 Printer
To start with the canon mx490 wireless setup is to you need to ensure that your canon printer is switched on.
Well, now you need to press & maintain the wifi button at the top of the printer till the lamp flashes once.
Now you will notice that your canon pixma lamp next to this button begins to flash blue after which go to the access point and press the wps on your printer.
The next steps for the canon mx490 wireless setup for the access of WPS on the printer follow the user guidelines.
After you are done with the above steps now you may notice that your printer will flash the blue wifi light at the same time as searching, and the power and wifi network will also flash in the procedure to connect the wifi.
The next is that it means that your printer has correctly made a connection to your wi-fi network, the power, and wifi light will stop flashing and continue to be lit.
In case still, you are not able to set up don’t worry you can reach us our team will guide you.
Conclusion
Well, we hope that now you are able to do the canon pixma mg490 wireless setup as explained above. I case still you are facing issues then you can get in touch with our team of experts as they are available for assistance for 24*7 at your assistance. Feel free to reach us we are happy to help with all your queries and doubts.


Comments