Canon MG 2520 Setup
- Ankita Kalra

- Aug 10, 2021
- 3 min read
Canon offers hi-tech and first-rate printer models. They offer the users an extensive variety of printers to pick the high-quality for themselves. With the help of a Canon printer, you could easily print, fax, and scan your files and photos. Canon printers are capable of printing most sheets in less time. Their pace printing saves your time in addition to attempt.
So, preserve analyzing the object and finish your canon Pixma MG2520 Setup printer manually in less time.
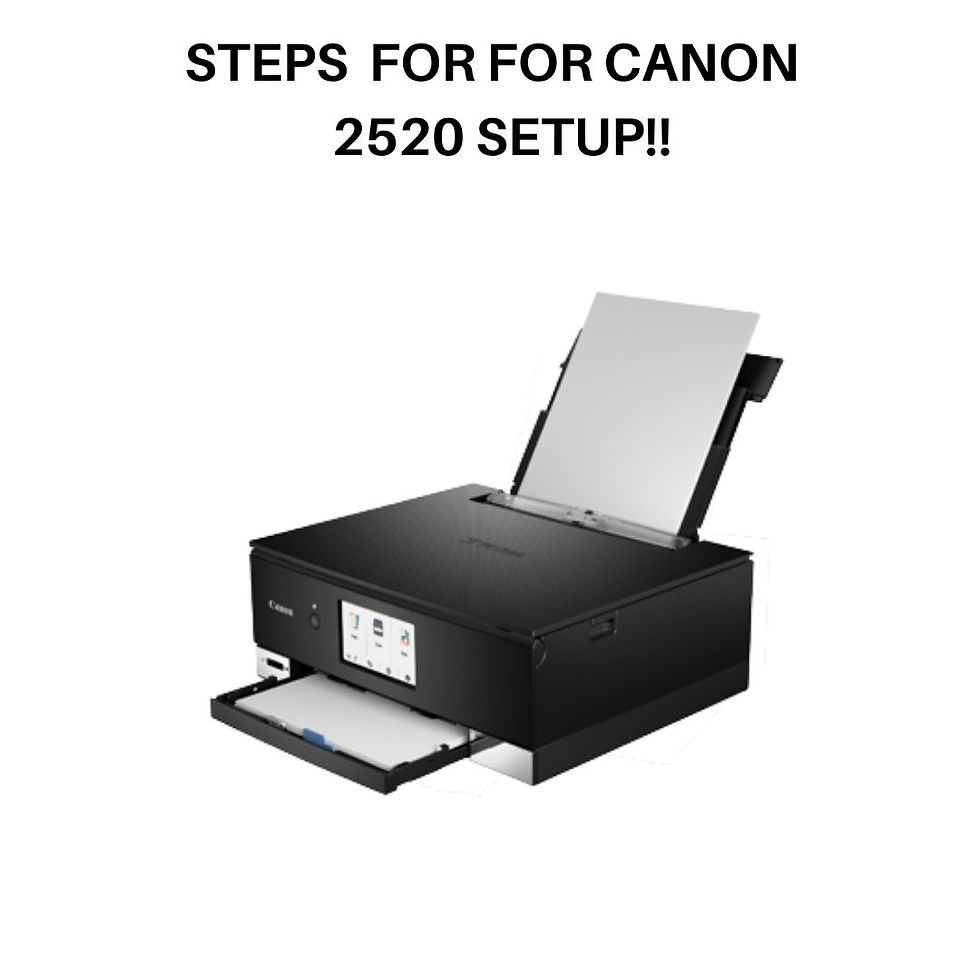
Steps For Canon MG 2520 Setup
To begin with the steps firstly, you need to unbox your printer and attach the USB cable to it.
In the subsequent step, you're required to turn at the printer.
Now, click on the “Start” button for the process of canon mg2520 setup.
It will open the Control Panel window, and here you need to the faucet at the “Device and Printers” alternative.
After that, click on the “Add a printer” choice and proceed similarly.
And then, you want to visit the neighborhood printer alternative.
And here, search and click on on the port in which your Canon Pixma printer is connected to the device.
A new window will seem. Select it, and then you want to pick out your printer version.
After selecting the proper printer from the list, you want to hit the “Next” button.
Once again, you need to click on the “Next” button for the canon mg2520 setup.
Lastly, click on the “Finish” choice to preserve your preferred printer choice as a default.
You are prepared to use your printer and enjoy the satisfactory overall performance of the Canon printer.
Wireless Setup
Find instructions on the way to set up the wi-fi connection to your PIXMA MG2520 printer and also a way to reset the printer to factory settings.
Some access factors (from time to time referred to as routers or hubs) feature an automatic connection button classified as “WPS” which stands for Wi-Fi Protected Setup.
This allows authorized gadgets such as your canon mg 2520 to connect to your community without having to go into a password and it allows a short and easy technique of connecting your devices.
This method is with the aid of a long way the only manner of connecting your PIXMA MG2520, so in case your get admission to point has a WPS button, please pick out the ‘WPS Connection Method’ tab underneath for commands on connecting using this approach.
If your router does no longer assist WPS, we've got furnished alternative instructions to get your canon pixma mg2520 wireless setup so please select the 'Standard Connection Method' tab under.
Wireless Connection
Press the home button (A) at the printer.
Use the buttons (A) to pick the [WLAN Setup] icon.
Press the left feature button (B).
The (blue) Wi-Fi lamp (C) lights up when the wi-fi connection is enabled.
The printer will now robotically search for getting entry to points assisting the WPS feature.
The show on printer have to be proven as below -
Press and hold the [WPS] button on your get entry to factor for about 5 seconds, then release.
For exact commands on beginning WPS on your access point, please consult with its consumer manual.
Press the [OK] button on the printer within 2 mins for canon pixma mg2520 wireless setup.
The (blue) Wi-Fi lamp at the printer flashes whilst trying to find or connect to the get entry to point.
When the display below [Connected to the access point] is displayed, press the [OK] button to finish the setup
Conclusion
Now you are able to do the canon pixma mg2520 wireless setup as explained with the steps above. If you are unable to do it or facing issues then you can contact with ur experts.


Comentarios